


 By Heather Dove
Online Editor
Being artistic doesn’t come easy for everyone. Long strokes of paint on a canvas or armed only by a pencil and a sketchbook, being creative can seem like a war zone.
Photoshop is the saving grace for anyone who is creative, but not necessarily artistic enough to do it themselves. With a few clicks of a button, you can manipulate images into completely new pieces of art. Even if you just want to mess around with your best friend by putting his head onto Eminem’s body, Photoshop will get the job done.
The best part is that anyone with a computer, time and a little imagination can become a Photoshop Ninja.
Starting in seventh grade, I’ve accumulated the knowledge that has qualified me to be dubbed a “Photoshop Ninja.” Self taught, I’ve gone through the pitfalls so you don’t have to. If there’s something you want to know how to do, comment below and ask me. If I don’t already know how to do it, I’ll find out for you — your own personal Chacha to the graphics world.

Alright, so in the last blog I taught you the ways of cut outs, or renders.
This week I’ll test those skills with some simple tasks– and throw in some new skills. Today, we learn how to switch up the color palette.
If you’ve ever wondered how people edited their photos to make their eyes stand out, or change their hair color, then your questions will be answered. There are some artistic ways to go about this, but I’ll keep the ninja mojo down a few notches.
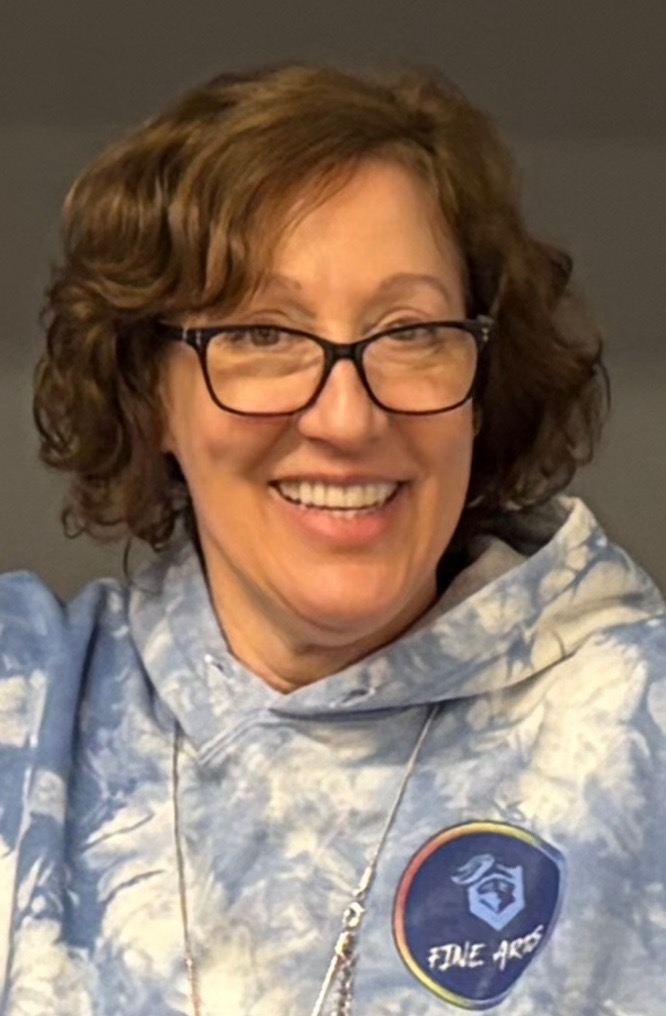
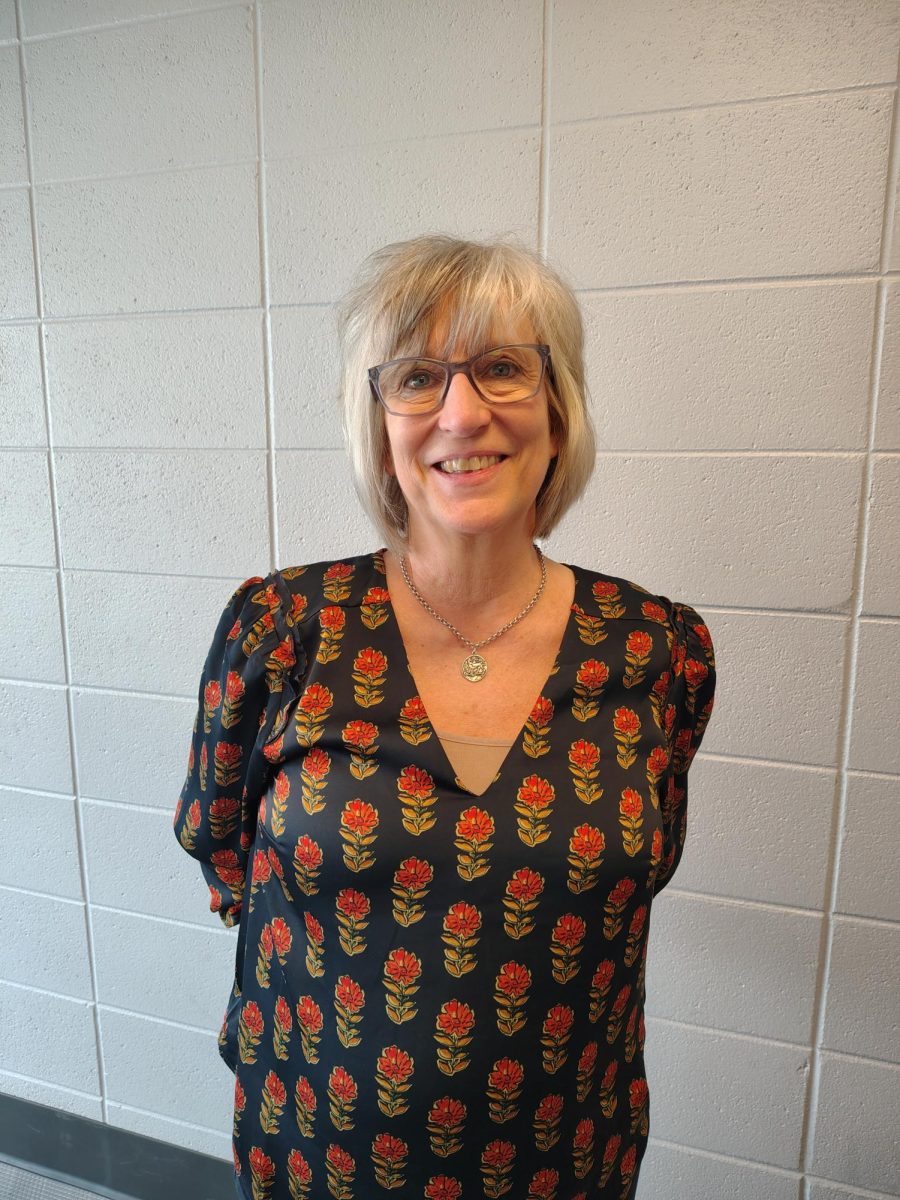
For once, I’ll take off my ninja veil of secrecy and reveal my face.

Also note where the picture of you ends, and the background starts. You are going to have to select (as if you’re going to make a render) the part of you that you want to change. In the picture I use above, it is very difficult to see where my hair ends and where the background starts. So, for that picture, it would be harder, and take more time, to edit my hair.There are multiple ways to go about editing your eyes. No one is standing over your shoulder, with spit flying and veins popping, making you take one specific route.Mess around with the following ways, and stick with whatever works best for you. If you want to become a high class Photoshop Ninja, then you might want to consider mastering all of the ways.In the photo above I have the slightest bit of red eye. If this is a problem with your photo too, see: “Removing Red Eye”.
From here, we will branch out into different options.
First option:
This option isn’t going to do exactly what you want it to. It’s a series of messing around and seeing what you do and don’t like. If this first option doesn’t exactly float your boat, you can use it in addition to the second option.
First, duplicate the background layer twice. Then, set the background layer to invisible.
On whichever layer is on top, select both of your eyes, and delete the background (you may need to review Photoshop Dojo #1 if you do not remember how to select parts of a picture).
The primary tool we’re going to use is the layer type.
You can change a layer’s type by clicking where it says “Normal” in the box that shows you all of the layers.

Also note that while this seems like a small tidbit on the road to your black belt in Photoshop, this is a monumental tool. Changing the layer type of a layer is a significant part of editing, whether for practical purposes or professional.
After I set my layer that has my eyes rendered to “Linear Dodge (Add)”, I come up with this:

True ninjas know their way around layer types, so they would be able to change the layer types as well as do this second step.
Also, note that you can move where the layer is by selecting it (it will be highlighted in blue as in the picture above), and dragging it to the area you want it. As a side note, Any layer that is on top will block out, or add it’s effect, to every layer below it. In the picture above, “Layer 1” is on top, and the locked “Background” is on bottom.Now, on your new layer, select the first eye (using whatever rendering method you want). From here, go to “Edit” on the menu, and go down to “Fill”. Keep in mind that you should do this while you have the empty layer selected.
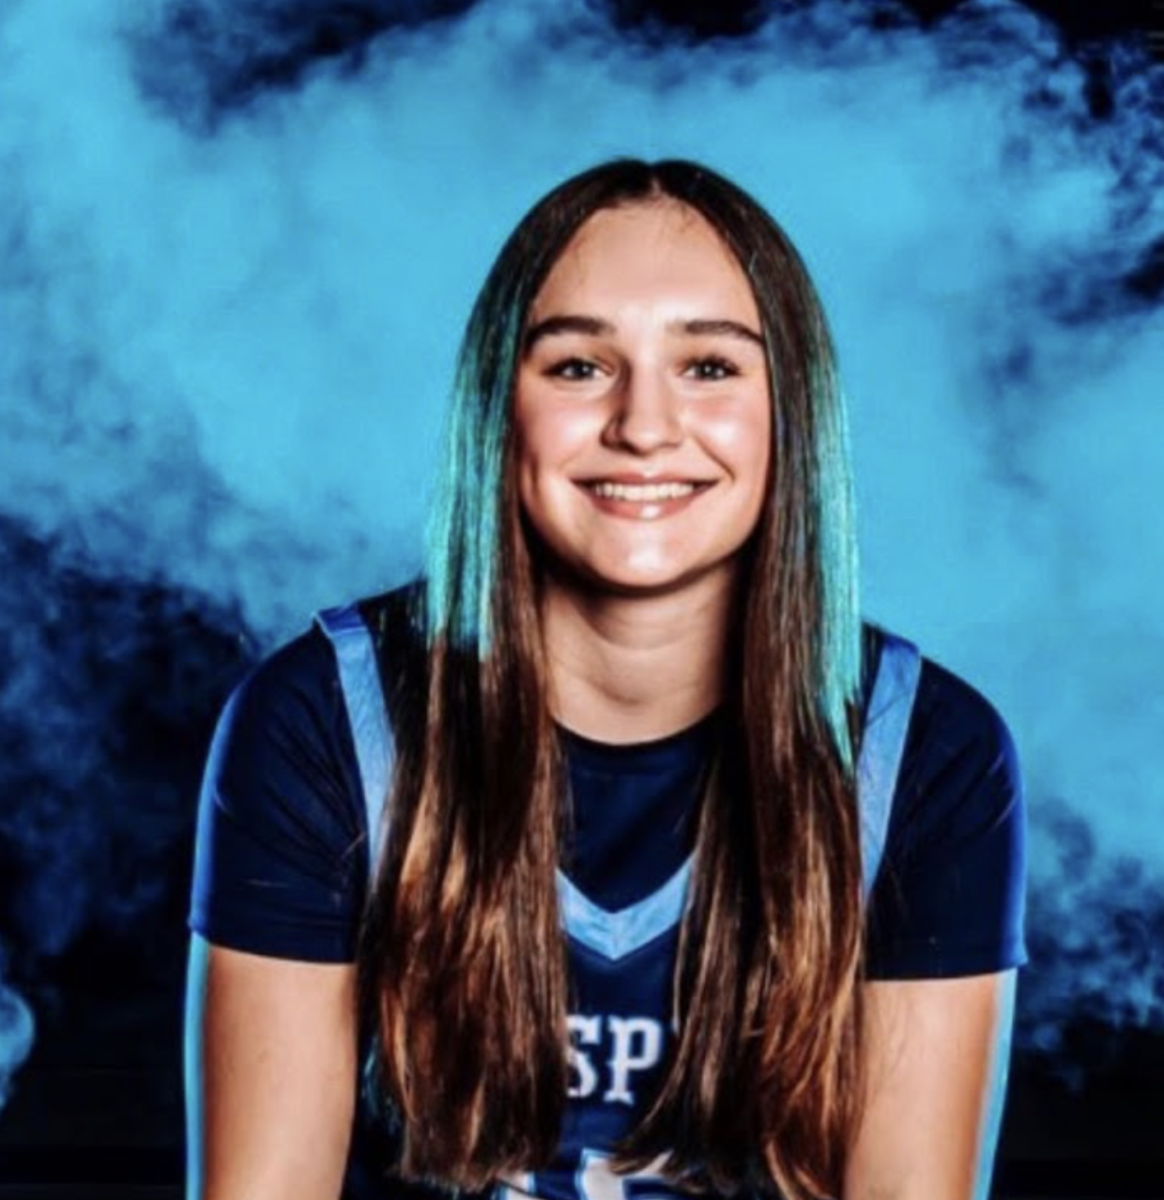
Here, you want to chose a vibrant color. I want to make my eyes blue, so I choise this bright turqoise-like color. Select okay on the above screen, and the next screen. You should now have to colored blobs where your eyes are, but on a separate layer.
Now using the technique above of changing layer types, change the layer type of the layer with the color you selected to “Overlay”.
This changes the color of your eyes to roughly the color you selected, while making it still look somewhat realistic.
Here is what I came up with:
However there was one other change I made before I got to the picture you see above. The original version I came up with made my eyes too bright for my liking. If this happens to you, you can change the Opacity of the layer so that the effect becomes less predominant.
You can find the opacity option here:
You can change the opacity by either directly typing in a different percent, or moving the arrow that pops up when you click on the arrow next to the percent. I personally defer to the latter because you can easily see what you do and do not like. In my picture above, the Opacity is set at 45 percent.
If you don’t like the color that you originally chose, you can also change it without going back through the “Edit”, “Fill” route. Instead, go to “Image”, “Adjustments”, “Hue Saturation”.
Having done that, this new window will open up:
Removing Red Eye:
You’re in luck. This is just about as easy as putting text onto a picture.
Find your tool bar, and somewhere at about the seventh icon, one of the other tools you can select is “Red Eye Tool”.