


 By Heather Dove
Online Editor
Being artistic doesn’t come easy for everyone. Long strokes of paint on a canvas or armed only by a pencil and a sketchbook, being creative can seem like a war zone.
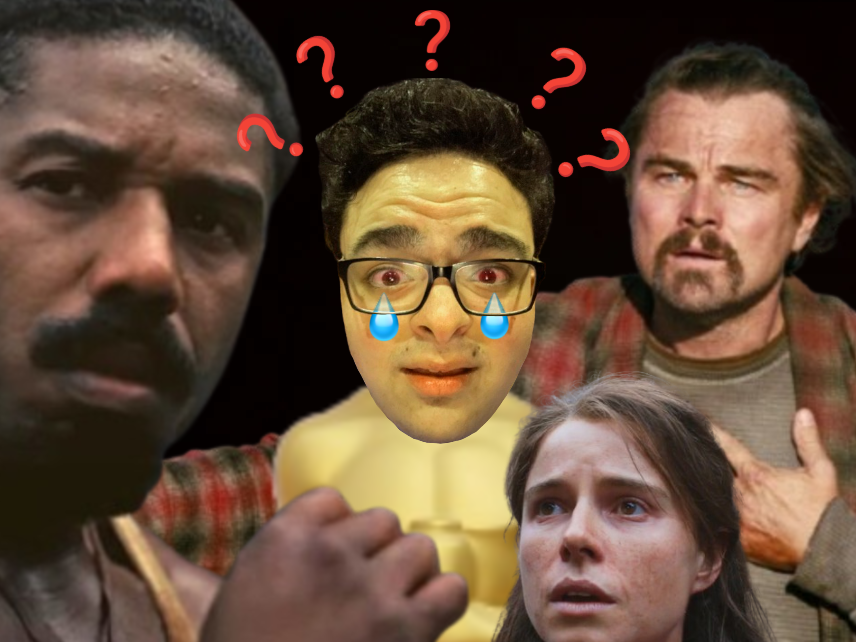
Photoshop is the saving grace for anyone who is creative, but not necessarily artistic enough to do it themselves. With a few clicks of a button, you can manipulate images into completely new pieces of art. Even if you just want to mess around with your best friend by putting his head onto Eminem’s body, Photoshop will get the job done.
The best part is that anyone with a computer, time and a little imagination can become a Photoshop Ninja.
Starting in seventh grade, I’ve accumulated the knowledge that has qualified me to be dubbed a “Photoshop Ninja.” Self taught, I’ve gone through the pitfalls so you don’t have to. If there’s something you want to know how to do, comment below and ask me. If I don’t already know how to do it, I’ll find out for you — your own personal Chacha to the graphics world.

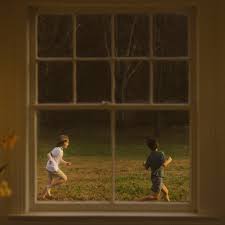
As we get older, Halloween either gets more awesome or more awkward.
Either way, editing a picture of yourself is one way to get spooky without actually dressing up.
First of all, consider the pose of the picture. You can do any of these effects to a picture where you aren’t posing, but the end product might be more to your liking if you aren’t the vampire that looks more friend than foe.
Last week, I taught you how to change your eye color. In the following tutorial, you’ll be using Photoshop Dojo #3.
How do I make myself into a vampire, you ask?
Well, as anyone may tell you, a Twilight vampire is much different than a typical vampire.
However, no matter whether or not you’re making a Twilight vampire, you need to follow these steps.
First, look at your photo. In your photo, do you have your mouth open or closed? The way your edit the photo is completely different based on whether or not your teeth are showing.
Also, you are going to be working with many layers. Layers are automatically given names depending on if you’ve duplicated them, or just created a new layer. The names given to the layers aren’t exactly helpful…
Since you don’t want to accidentally delete a layer you just spent fifteen minutes on, I suggest you rename them so that they are relevant to what is on the layer.
To rename your layer, double click on it’s current name, and type in the new one.
Either way…
You can find vampire teeth through google, or you can use the teeth I found:

As awkward as that seems, trust me, a vampire’s fangs are a trademark. Without the teeth, you haven’t reached your full vampire potential.
Now, time to put your cut out skills to the test. Render each fang, and get rid of all of the other teeth and background. No, you don’t need someone else’s tongue.
Sensi’s note:
To add on to what I taught you about cut-outs, there is an extra feature that some cut-out tools have. Utilize this.
In the upper left of the Photoshop program, when you have a cut-out tool selected, you will see an assortment of four icons, all including squares.

The first icon, which is selected in the image above, is “New Selection”. This is the basic cut out function. However, move one icon to the right, and you’ll see that it is “Add Selection”.
“Add Selection” adds more to what you already have selected. Another over from “Add Selection” is “Subtract from selection”, and it unselects whatever you select with it.Alright, so pause for a second. How does this have to do with you cutting out those teeth?If you do not use this feature (whether it’s while using the polygonal tool, the lasso tool or whatever selection tool you desire), you will have to duplicate the image of the teeth, cut out one tooth, and on the other layer, the other tooth. You would end up with two layers, each having only one tooth on it.
The problem with that is that you want both teeth to have a universal look. One tooth being twice the size of the other does not look good. (However, if that is what happened to you, select the layer with the tooth that is on top. On your menu, then go to “Layer”, “Merge Down”. Both teeth should be on the same layer now).By using the “Add Selection” and “Subtract Selection” tools, you can select multiple things on an image without having to start over or switch to another layer.So step by step..
Using the cut out tool of your choice, select the first fang while using the “New Selection” icon.
After you’re done selecting the first tooth, switch from “New Selection” to “Add Selection”.
With this, select the second tooth.
With both teeth selected, go to “Select”, “Inverse”, and delete the background.
If your mouth is closed… (Easiest route)
Make sure the layer isn’t locked. If it is, duplicate the layer and make the background invisible (for more detail, see Photoshop Dojo #2).
Now, duplicate the layer (if you already duplicated once, this will be the second time). You should have to layers of your photo, each of these unlocked.
On the layer on top, select your upper lip. You can do this by using any of the rendering tools described in Photoshop Dojo #2. Select the inverse and cut out everything but your upper lip. (You can select the inverse by going to Select on your menu, and then to inverse. It may not look the same, but if you hit it once, trust me, it is the inverse. Unless, of course, your computer is an ancient dinosaur and tends to ignore what you tell it to do then there might be a chance it didn’t select the inverse.)
Alright. At this point, your image looks exactly the same.
This is where you add in your teeth.
Put the layer of your teeth underneath the layer that ONLY has your upper lip. The layer order should be: upper lip, teeth, unedited photo of you.
You may need to move the teeth around, and they probably will not magically be the right size for your mouth. If you need to resize the teeth, see “Resizing Maddness”.
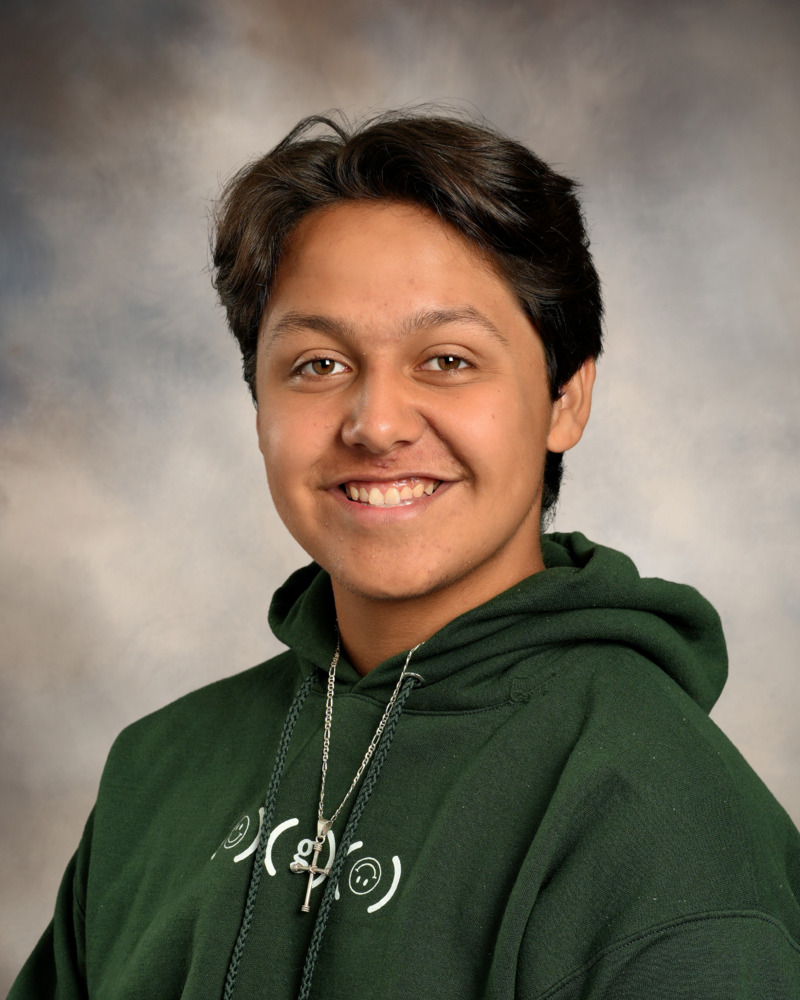
Here is an example that I made:
Not only did I do the changes above, but I added a background of a forest, made my hair a brighter, redder brown, and turned my outfit a ghouly gray.
I originally looked really goofy, but after adding the red eyes and fangs, even the silliest of pictures can look creepy. Also note how different the teeth look, even though I used the same fangs to edit each picture. Keep in mind what effect you want to have on your audience.
Now, for both….
Now with your teeth in, your one step closer to becoming a vampire. From here on out, I suggest changing your eye color to red, or some other color that isn’t typical for human beings (Bright green, orange, etc). You can see how to change your eye color in more detail by reading Photoshop Dojo #3.
Color:
Eyedropper tool looks like: