


 By Heather Dove
Online Editor
Being artistic doesn’t come easy for everyone. Long strokes of paint on a canvas or armed only by a pencil and a sketchbook, being creative can seem like a war zone.
Photoshop is the saving grace for anyone who is creative, but not necessarily artistic enough to do it themselves. With a few clicks of a button, you can manipulate images into completely new pieces of art. Even if you just want to mess around with your best friend by putting his head onto Eminem’s body, Photoshop will get the job done.
The best part is that anyone with a computer, time and a little imagination can become a Photoshop Ninja.
Starting in seventh grade, I’ve accumulated the knowledge that has qualified me to be dubbed a “Photoshop Ninja.” Self taught, I’ve gone through the pitfalls so you don’t have to. If there’s something you want to know how to do, comment below and ask me. If I don’t already know how to do it, I’ll find out for you — your own personal Chacha to the graphics world.

Ninja Lesson: Make it Stand Out
Alright. So, in the past, I discussed techniques of editing photos that mimicked photo editing sites. In others blogs I taught you how to change the color of layers by using filters, or to blur the background through masking.
Both of these skills create ways to highlight or mute specific selections in an image; however, if you want to make a specific part of a photo stand out, there are tons of combinations of effects that can add pizzazz to your picture.
Part A: Dojo #3 and #8, #8.5
Filters! I didn’t bring this up the first time around to keep things simple, but in Photoshop Dojo #3, we worked with Filters.
Filters get their name from the camera world.
For example, whenever you take blue plastic wrap and put it in front of a light-bulb, the light becomes blue. The plastic wrap is acting as a filter.
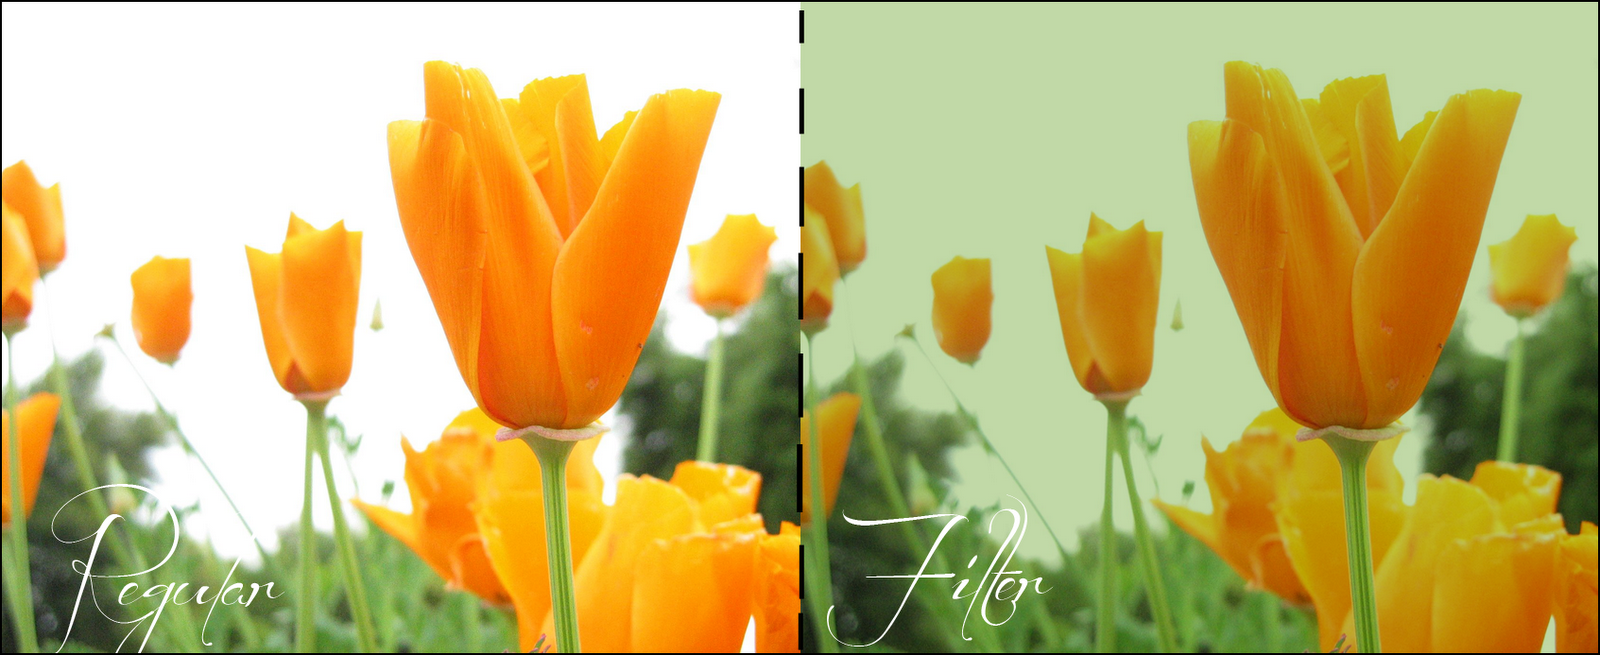
Photographers use filters to put new and creative spins on the shots they take, and in Photoshop you can add filters, much like a Photographer can.
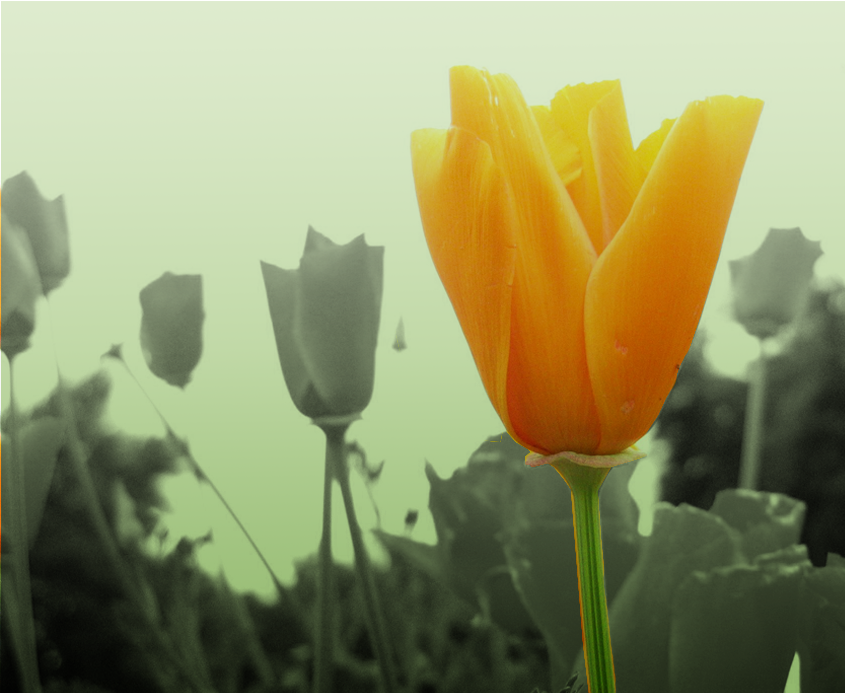
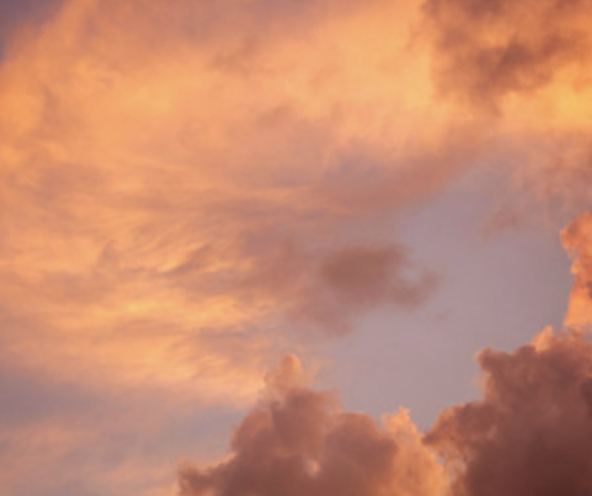
In the example above, I added the filter with Photoshop to the flower on the right.
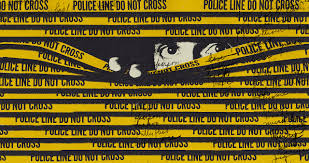
Well, filters can also make aspects of a photo stand out. This is especially true if the filter doesn’t cover the entire picture. To make your eyes stand out in Photoshop Dojo #3, I showed you how to use filters specifically on the eyes.
Need some practice? You can practice by checking out the “Aladin” effect, or reading Photoshop Dojo #3.
Part B: Dojo #9
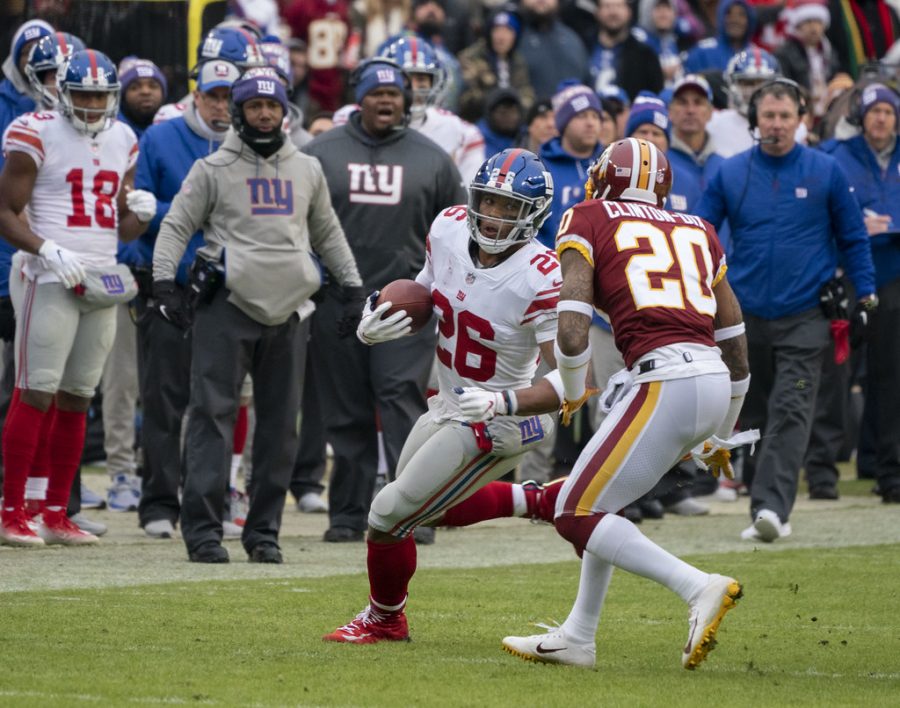
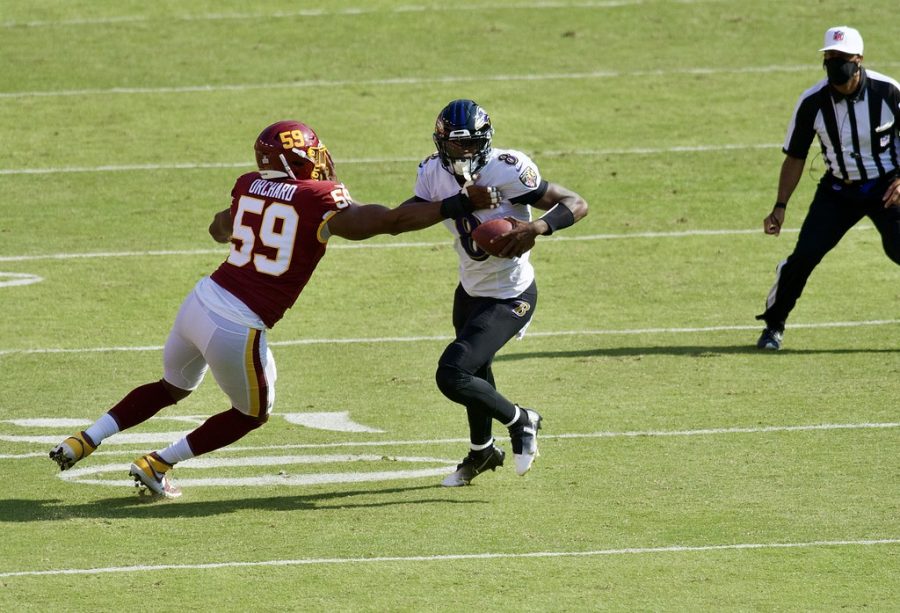
In Photoshop Dojo #9 I taught you multiple ways of editing a text. The rainbow effect, a gradient, and all of the other effects I showed you, can be created outside of fonts. One such technique is a gradient (for some examples, see below).

That being said, gradients can add depth and color to an otherwise lackluster image. For example, if you take a normal looking text box and put a gradient on top, it has a shinier, classy look. If you look closely at any of the menu bars on Mac computers, there are gradients on almost everything.
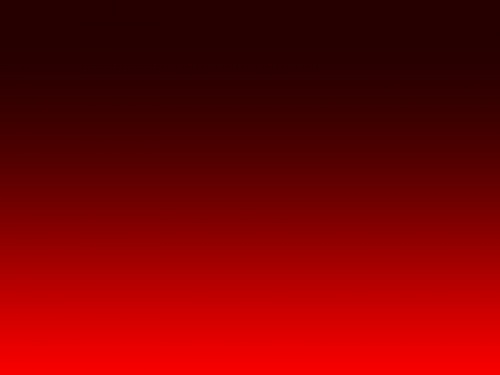
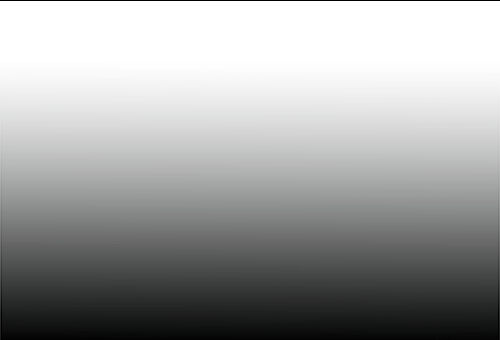
Here is an example of before and after a gradient: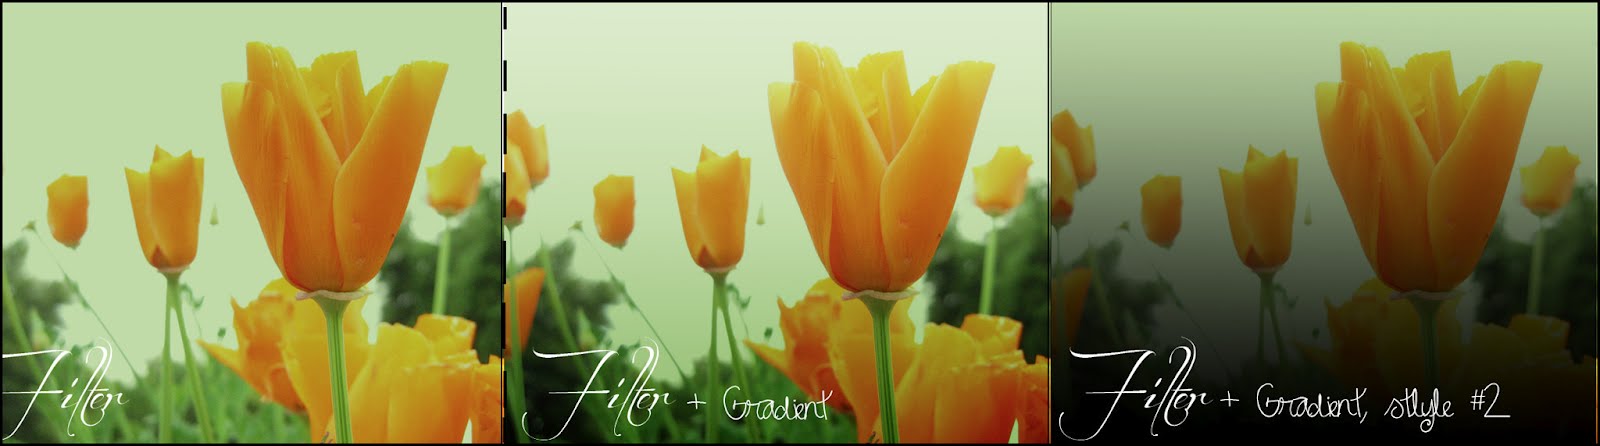
The gradient that was applied in the middle frame and the frame on the right is actually the same gradient (white to black). It’s just on a different layer style.
Keep in mind that layer styles will vary the effect of a gradient, so there are multiple minute details that will change an image.
Don’t know how to create a gradient outside of text? Well here’s how.
Create a new layer on a Photoshop image if you haven’t done so already. Then, look to your toolbar for the gradient tool.
Once you’ve made your gradient, I would suggest setting it to the top layer, and treating it like a filter. That means setting the layer style to Darken, Lighten, or anything in between.
In the example above, the middle panel has a black to white gradient on “Soft Light”. On the right, the layer is set to “Multiply”.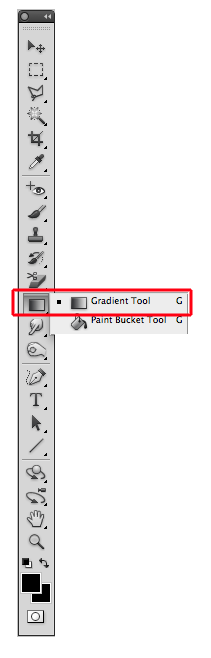
Using this tool, click on one edge of the layer, and drag to the other edge. After that, let go. Depending on which way you drag, and to what extent, the gradient will look different.
You can also change the gradient from linear, to any of the options along the top. 
This may sound confusing, but just click on the tool and mess around with it. You’ll soon understand what I mean.
Also, note that the gradient tool consists of whatever colors are selected on your toolbar. To change the colors of the gradient, you’ll need to change those colors. In the toolbar above, both of the selected colors are black.
Part C: Dojo #6
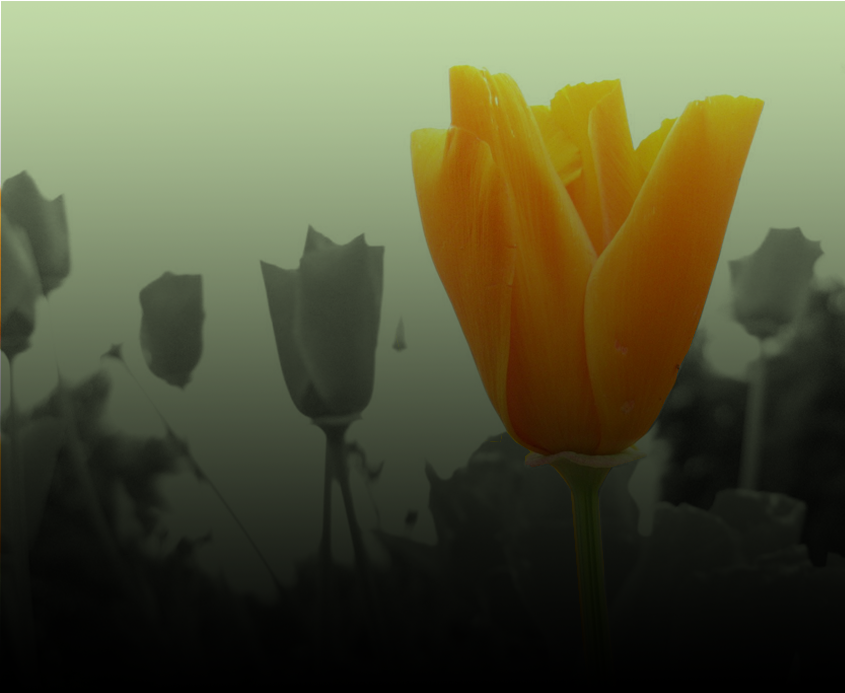
Making a picture black and white, but leaving one specific color or object left intact, can change how the audience perceives a picture.
If you need a refresher on grayscaling and black and white, check out Photoshop Dojo #6.
First, Duplicate the layer of your photo so that there are two editable layers (If you directly opened a picture from your camera, the background layer will be locked. Leave this layer, but make it invisible).
Make one of these duplicated layers black and white (or grayscaled– in which case, DO NOT merge layers).
Using the masking techniques from Photoshop Dojo #8.5 , put a mask layer on the grayscaled layer. Once that is done, use the masked layer to select one specific part of the photo.
The following is how your layers should look, minus the “group” and “Layer 1”.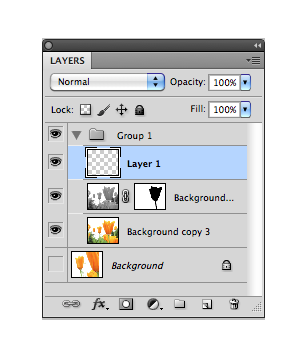
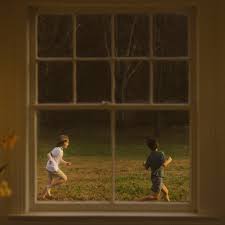
And this was my outcome: 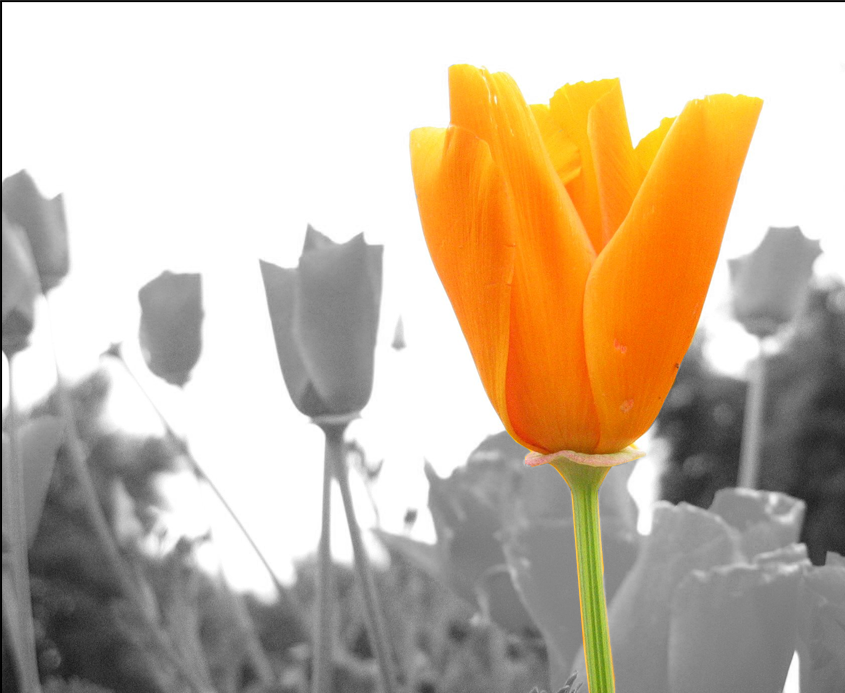
As you can see from this picture, the flower in color stands out a lot more this way.
But.. what if we were to combine all three of the above parts?
Well, here’s what I get.